Decoding the Secrets of Beer
In this article, I will attempt to provide you with the various keys to understanding the relationship between beer production and its organoleptic qualities.
1. Malting: Formerly carried out by brewers, malting is now performed exclusively by maltsters. Malting consists of transforming barley into malt. To do this, the maltster soaks the barley in water for 5-6 days. The grain germinates, the husk becomes friable, and the cereal produces enzymes. By the end of this period, the seed even reveals its radicle: it "sprouts"!
To stop germination, the maltster applies heat, and depending on the temperature, the malt will be more or less colored. A pale malt (resulting from a low heating temperature) is suitable for "pilsner" type beers. Conversely, "chocolate malt" is used for dark beers or stouts. The EBC (European Brewery Convention) degree measures the malt's color. The higher it is, the darker the malt.
Blonde Beer: A combination of pilsner malt (3°EBC - malty aroma) and munich malt (15° EBC - malty/biscuit aroma).
Amber Beer: A combination of pilsner malt and caramel malt (50°EBC to 350°EBC). The latter is heated more intensely, offering aromas of caramel, cotton candy, walnuts, and hazelnuts (due to the famous "Maillard reactions").
Dark Beer or Stout: A combination of pilsner malt and chocolate malt (800°EBC to 1200° EBC), offering coffee, roasted, and chocolate aromas.
NB: Cereals other than barley can be used in beer composition. For example, wheat is used up to 15% in a Tripel and 20-30% in a Witbier (white beer).
2. Crushing (Milling): The brewing day begins with crushing. The mill consists of two cylinders that grind the grain into a fine grist. This type of grinding maximizes the exchange between the mash water and the malt.
3. Brewing (A): Mashing: Mashing is the first step of brewing. It lasts about three hours. The crushed malt grains are mixed with hot water (the mash). Then, the brew is heated to different temperature rests for two essential purposes:
1) To activate α-amylase and β-amylases to break down long chains of starch sugars into simple sugars. This step is very important because complex sugars cannot be consumed by the yeast during fermentation.
2) To break down a portion of the proteins into simple nitrogenous matter to allow for yeast cell multiplication during fermentation.
NB: The chemical composition of the water is very important. Calcium chlorides bring a lot of "roundness" to the beer; abbey beers often contain a lot. Conversely, calcium sulfates create a very dry finish on the palate.
4. Brewing (B): Filtration (Lautering): Filtration is the second step of brewing. It lasts from 1.5 to 2 hours. We separate the spent grain (drêches) from the sugary juice (wort) created during mashing. The spent grains are washed several times (sparging) to recover as much sugar and aroma as possible still present in the malt.
NB: Filtration also allows for the adsorption of wort lipids onto the crushed malt grains. However, if the brewer performs the filtration poorly or too quickly, many lipids pass into the wort.
5. Brewing (C): Boiling: Boiling is the third step of brewing. It lasts between 60 and 90 minutes. The wort is brought to 100°C for three reasons:
1) To partially sterilize the wort and any added spices/sugars.
2) Bittering hops are added at the start of the boil. Aromatic hops are added at the end of the boil.
3) To evaporate a large portion of sulfur compounds.
NB: Foam (the head) is composed of proteins, ions, and these alpha acids. The more bitterness in a beer, the more head it will typically have.
6. Brewing (D): Whirlpool: During the Whirlpool step, the wort is rotated circularly at very high speed for about 20 minutes. Hop residues and protein-polyphenol clumps settle in the center of the tank and are thus removed from the wort for beer clarity and stabilization of the taste.
7. Plate Heat Exchanger: Ten hours later... at the end of the brewing day, the beer—which is at 98°C leaving the whirlpool—is cooled almost instantaneously. The wort temperature drops to 24°C (best temperature for yeast) thanks to cold water circulating in the opposite direction in the plate heat exchanger.
8. Fermentation: At this stage, we have a cooled, sweet wort without any living organisms. To initiate fermentation, we need to "pitch" yeast from an active batch into the new wort. The yeast first undergoes cell division to reach a critical population, consuming the oxygen present in the wort.
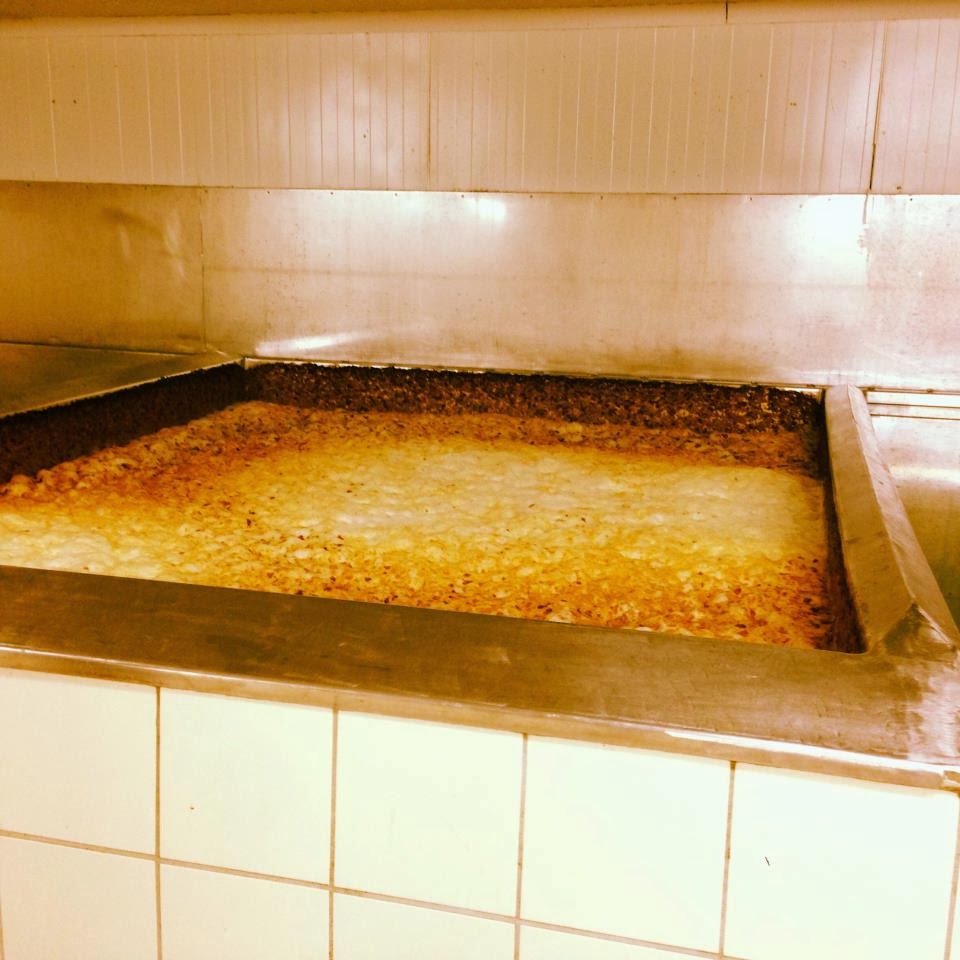
Once this stage is complete, the actual alcoholic fermentation begins: the yeast converts the simple sugars from the mashing process into alcohol, CO2, and aromatic compounds. These compounds play a crucial role in shaping the final flavor profile of the beer:
- Esters: Produced by yeast, esters contribute fruity aromas such as banana, pear, or citrus. These notes are characteristic of Belgian abbey beers and Weissbiers, where they add roundness and freshness.
- Phenols: Also derived from yeast and malt, phenols introduce spicy notes like clove or black pepper. These aromas are often found in Saisons or smoked beers, adding a dry and complex character.
- Higher Alcohols: Compounds like isoamyl alcohol provide warmth and body to the beer. In small amounts, they enhance complexity and texture, but in excess, they can become harsh and give a solvent-like sensation.
Mastering these compounds is essential for achieving a balanced beer. For example, fermentation at too high a temperature can lead to excessive production of higher alcohols, while a moderate temperature allows for the harmonious development of fruity esters and spicy phenols.
Thus, fermentation is not just about producing alcohol—it also shapes the aromatic and flavor profile of the beer, transforming a simple sweet wort into a rich and complex beverage.
9. Conditioning (Lagering): The beer is cooled from 24°C to 4°C over a few days. Then, it remains between 0 and 4°C throughout the conditioning period (two to four weeks) for the improvement of the taste (maturation).
NB: Diacetyls are often described as having rancid butter or popcorn aromas. While these aromas are sought after in many ales, for example, they are undesirable in other types of beers. Often, before cold conditioning (lagering), brewers increase the temperature (between 15°C and 20°C) for 2 to 3 days. This keeps the yeast active to clean up the diacetyl faster before cooling the beer.
10. Filtration: Once conditioning is finished, the beer can be filtered to remove all yeast that would provide too much roundness and aromas of white bread/toast, which would mask the beer's other delicate aromas.
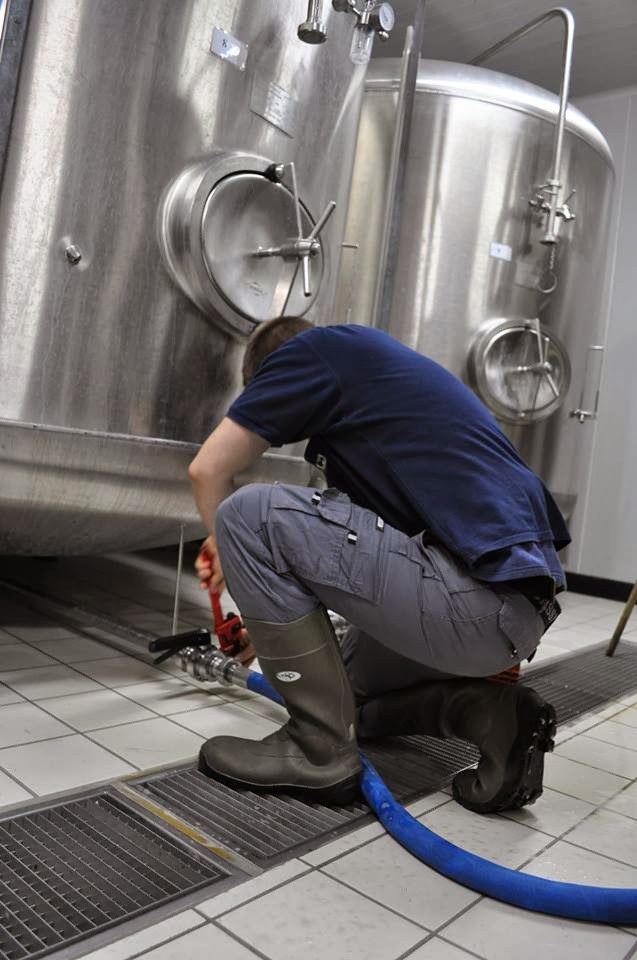
11. Racking (Bottling/Kegging): For so-called "saturated" beers, we saturate the beer with CO2 and bottle them. For bottle-conditioned beers, a little sugar and yeast are added to the beer before bottling.
NB: This explains why Tripels have those bread/toast notes due to the presence of yeast, unlike blonde beers where the fruity bouquet is easier to perceive.
12. Bottle Conditioning (Refermentation): This only concerns bottle-conditioned beers. These bottles are placed in a warm room so the yeast can ferment the added sugar. Thanks to the yeast, the taste of bottle-conditioned beer will constantly evolve in your cellar.
NB: What primarily degrades beer flavor over time? It's the oxygen trapped in the neck of the bottle during bottling. With yeast inside bottle consumming this oxygen, the beer taste will be more protected. This explain why the bottle-conditioned can support a longer storage time than forced-carbonated beer.
Beer Tasting Guide:
A. Introduction: Your beer must be at the right temperature. Low temperatures kill the perception of aromas.
B. Serving the Beer: Pour the beer gently and gradually move the bottle away from the glass as it fills to create a beautiful head of foam.
C. Observing the Beer: The first thing we see is the color. It results partly from the degree of roasting of the barley grains.
D. Smelling the Beer: Since beer contains over 650 aromatic compounds, you should first smell it without stirring the glass to catch the dominant scent.
E. Tasting the Beer: First, seek to appreciate the flavors: take a first sip so it contacts your tongue where taste receptors are located.
F. Fully Experiencing the Beer: By blowing a little air out of your lungs with your mouth closed after that first sip, you will bring the beer's aromas to the sensory receptors of your retro-nasal passages.
G. Tasting the Beer Again: Once the first sip has passed, you can fully enjoy the secondary flavors of the beer.